Your cart is currently empty!
Category: Daily Goody
The Daily Goody is daily tip, fact, or lesson on podcast production. You can receive it daily or a weekly roundup with our dedicated newsletter.
-
Tips for Pitching Yourself To Be a Guest on Other Podcasts
An old friend just asked me for tips for pitching himself to be a guest on other podcasts.
I responded…
*But first – do you have any additional advice to add?? Comment below.
Tips for Pitching Yourself To Be a Guest on Other Podcasts:
OK, here are a few ideas for when you initially approach them…
- If you can listen to a bit of their show before approaching them, that’s optimal. Then you can open communication with them by complimenting their show with one or two specific compliments. Maybe say something like, “The episode you did with Joe Guest two months ago was particularly excellent.” And/or, “Your audio quality is great compared to other podcasts.” Etc.
- Offer yourself as a guest and list 4-5 relevant topics that you could discuss with them that may be valuable to their listeners.
- Mention that you will be happy to share and promote the episode with all of your audiences.
- State that you already have a good audio setup. (And if you don’t yet have a good audio setup, get one!)
- Also, having a flexible schedule with lots of availability would be great to mention, if that’s true.
If you are a good fit for their show and provide all this info, your chances of getting booked are very high.
Also, another key is to reach out to as many shows as possible. Don’t just try for 2-3 shows; go for like 20-30 shows at least, if there are that many shows in your specific genre.
Hope this helps!
Want to receive the Daily Goody in your email, daily or weekly? Subscribe free here.
And please keep in mind, the Daily Goody is only a tiny little tip, fact or lesson everyday. Please don’t expect any of these posts to be long, earth-shattering masterpieces that instantly answer every single question you can think of and completely transform you into a world class podcast engineer. “Little by little, a little becomes a lot.”
-
Audio Normalization
NOTE: Full definition below. But in short…
Loudness normalization sets an audio file to a certain LUFS (perceived loudness) level. Peak normalization sets the peak level of an audio file to a certain dB level, and is much less useful in podcast production in my experience.
There are two places in podcast post-production where you want to use Loudness normalization:
- On individual tracks before the mixing phase (to make sure everyone’s raw tracks are the same exact LUFS level before you begin using plugins and processors, etc.)
- On the final episode mix in the mastering phase (to make sure the final episode adhere’s to the unofficial loudness standards of podcasting)
And here’s a good definition of Audio Normalization from Wikipedia:
Audio normalization is the application of a constant amount of gain to an audio recording to bring the amplitude to a target level (the norm). Because the same amount of gain is applied across the entire recording, the signal-to-noise ratio and relative dynamics are unchanged. Normalization is one of the functions commonly provided by a digital audio workstation.
Two principal types of audio normalization exist. Peak normalization adjusts the recording based on the highest signal level present in the recording. Loudness normalization adjusts the recording based on perceived loudness.
Normalization differs from dynamic range compression, which applies varying levels of gain over a recording to fit the level within a minimum and maximum range. Normalization adjusts the gain by a constant value across the entire recording.
Want to receive the Daily Goody in your email, daily or weekly? Subscribe free here.
And please keep in mind, the Daily Goody is only a tiny little tip, fact or lesson everyday. Please don’t expect any of these posts to be long, earth-shattering masterpieces that instantly answer every single question you can think of and completely transform you into a world class podcast engineer. “Little by little, a little becomes a lot.”
-
Bleeping Curse Words
If a podcast participant uses a curse word and you’d like to remove it, there are several ways to accomplish this:
- Delete the word entirely. (Unfortunately the resulting audio usually sounds very weird, unnatural and/or distracting to the listeners.)
- Replace the word with another piece of audio, usually a 1 kHz tone or another sound effect like a horn, etc. (Note that the 1kHz tone is the familiar “bleep” sound that you’ve heard throughout your life on radio and TV, etc.)
- Highlight the word and reverse it, so the word sh*t would then sound like tish. (This is a very effective method.)
What other methods are there to save the listener from hearing curse words?
Also, this post brings to mind the classic Barry clip, “Profanities left, profanities right!“
Want to receive the Daily Goody in your email, daily or weekly? Subscribe free here.
And please keep in mind, the Daily Goody is only a tiny little tip, fact or lesson everyday. Please don’t expect any of these posts to be long, earth-shattering masterpieces that instantly answer every single question you can think of and completely transform you into a world class podcast engineer. “Little by little, a little becomes a lot.”
-
Limiting a Bit Before Compressing
Sometimes when a podcast participant is extremely dynamic (alternating between very loud and very soft) it can help a lot to use a limiter BEFORE using a compressor, in terms of the order of plugins in your plugin chain. The limiter can tame the extreme peaks so that the compressor can process the sound without being potentially overwhelmed or distorted, etc.
Of course, use your ears to decide what sounds best 😉
Want to receive the Daily Goody in your email, daily or weekly? Subscribe free here.
And please keep in mind, the Daily Goody is only a tiny little tip, fact or lesson everyday. Please don’t expect any of these posts to be long, earth-shattering masterpieces that instantly answer every single question you can think of and completely transform you into a world class podcast engineer. “Little by little, a little becomes a lot.”
-
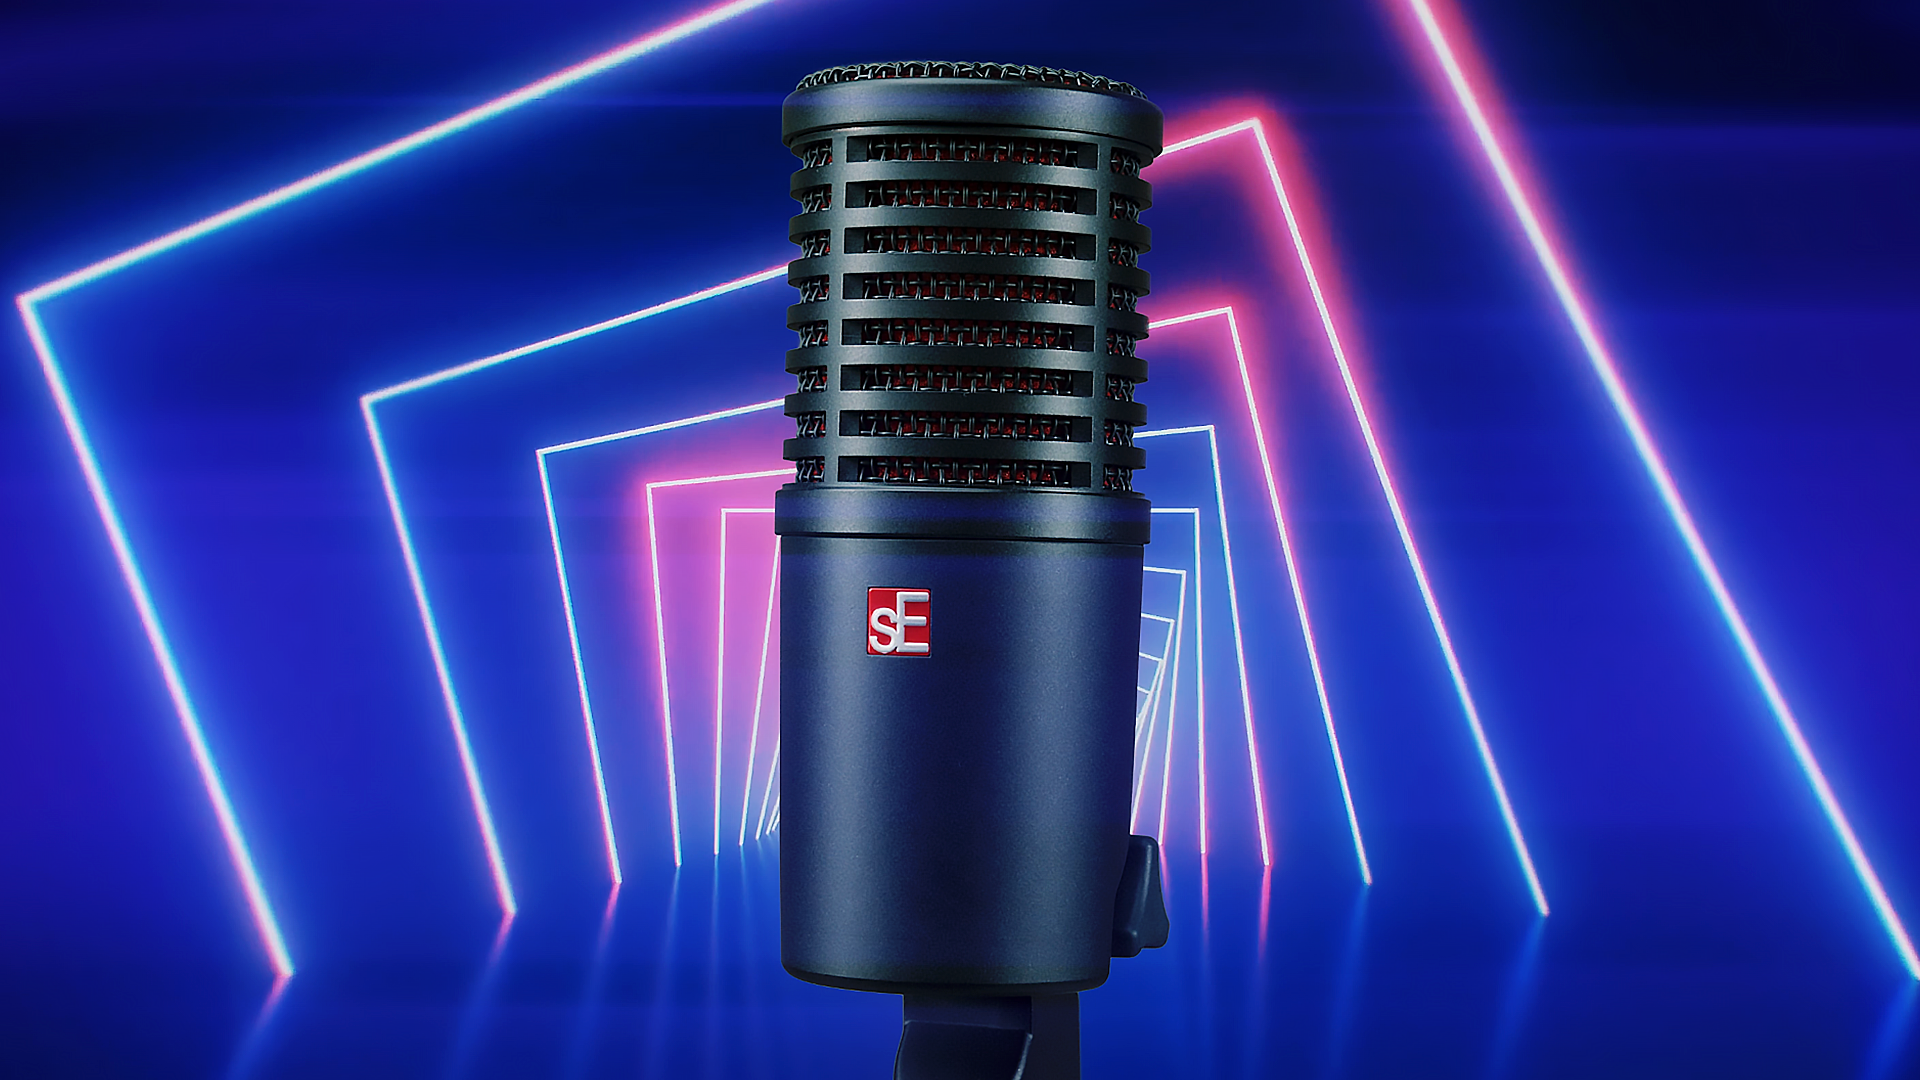
DynaCaster Microphone from sE Electronics
On a recent episode of my show I used the new DynaCaster microphone from sE Electronics. I think it sounded great!
It’s a new dynamic microphone with a cardioid pick up pattern and has some very cool features including onboard gain boosting (!), several EQ switches and more. Check out its webpage with all the details.
Also be sure to watch Podcastage’s excellent video test and review of this microphone: sE Electronics Dynacaster Review / Test (vs. SM7b, RE20, Ethos)
Have you tried this mic yet? Comment below.
Want to receive the Daily Goody in your email, daily or weekly? Subscribe free here.
And please keep in mind, the Daily Goody is only a tiny little tip, fact or lesson everyday. Please don’t expect any of these posts to be long, earth-shattering masterpieces that instantly answer every single question you can think of and completely transform you into a world class podcast engineer. “Little by little, a little becomes a lot.”
-
3 Plugins I Purchased but Rarely Use (Unfortunately)
First, in order to justify my plugin addiction to myself (HA!), note that I’m in the business of teaching audio production so I need to try lots of plugins so I can evaluate them in order to give opinions to my students, graduates and YOU.
Here are 3 plugins that are awesome but unfortunately I don’t actually use very often:
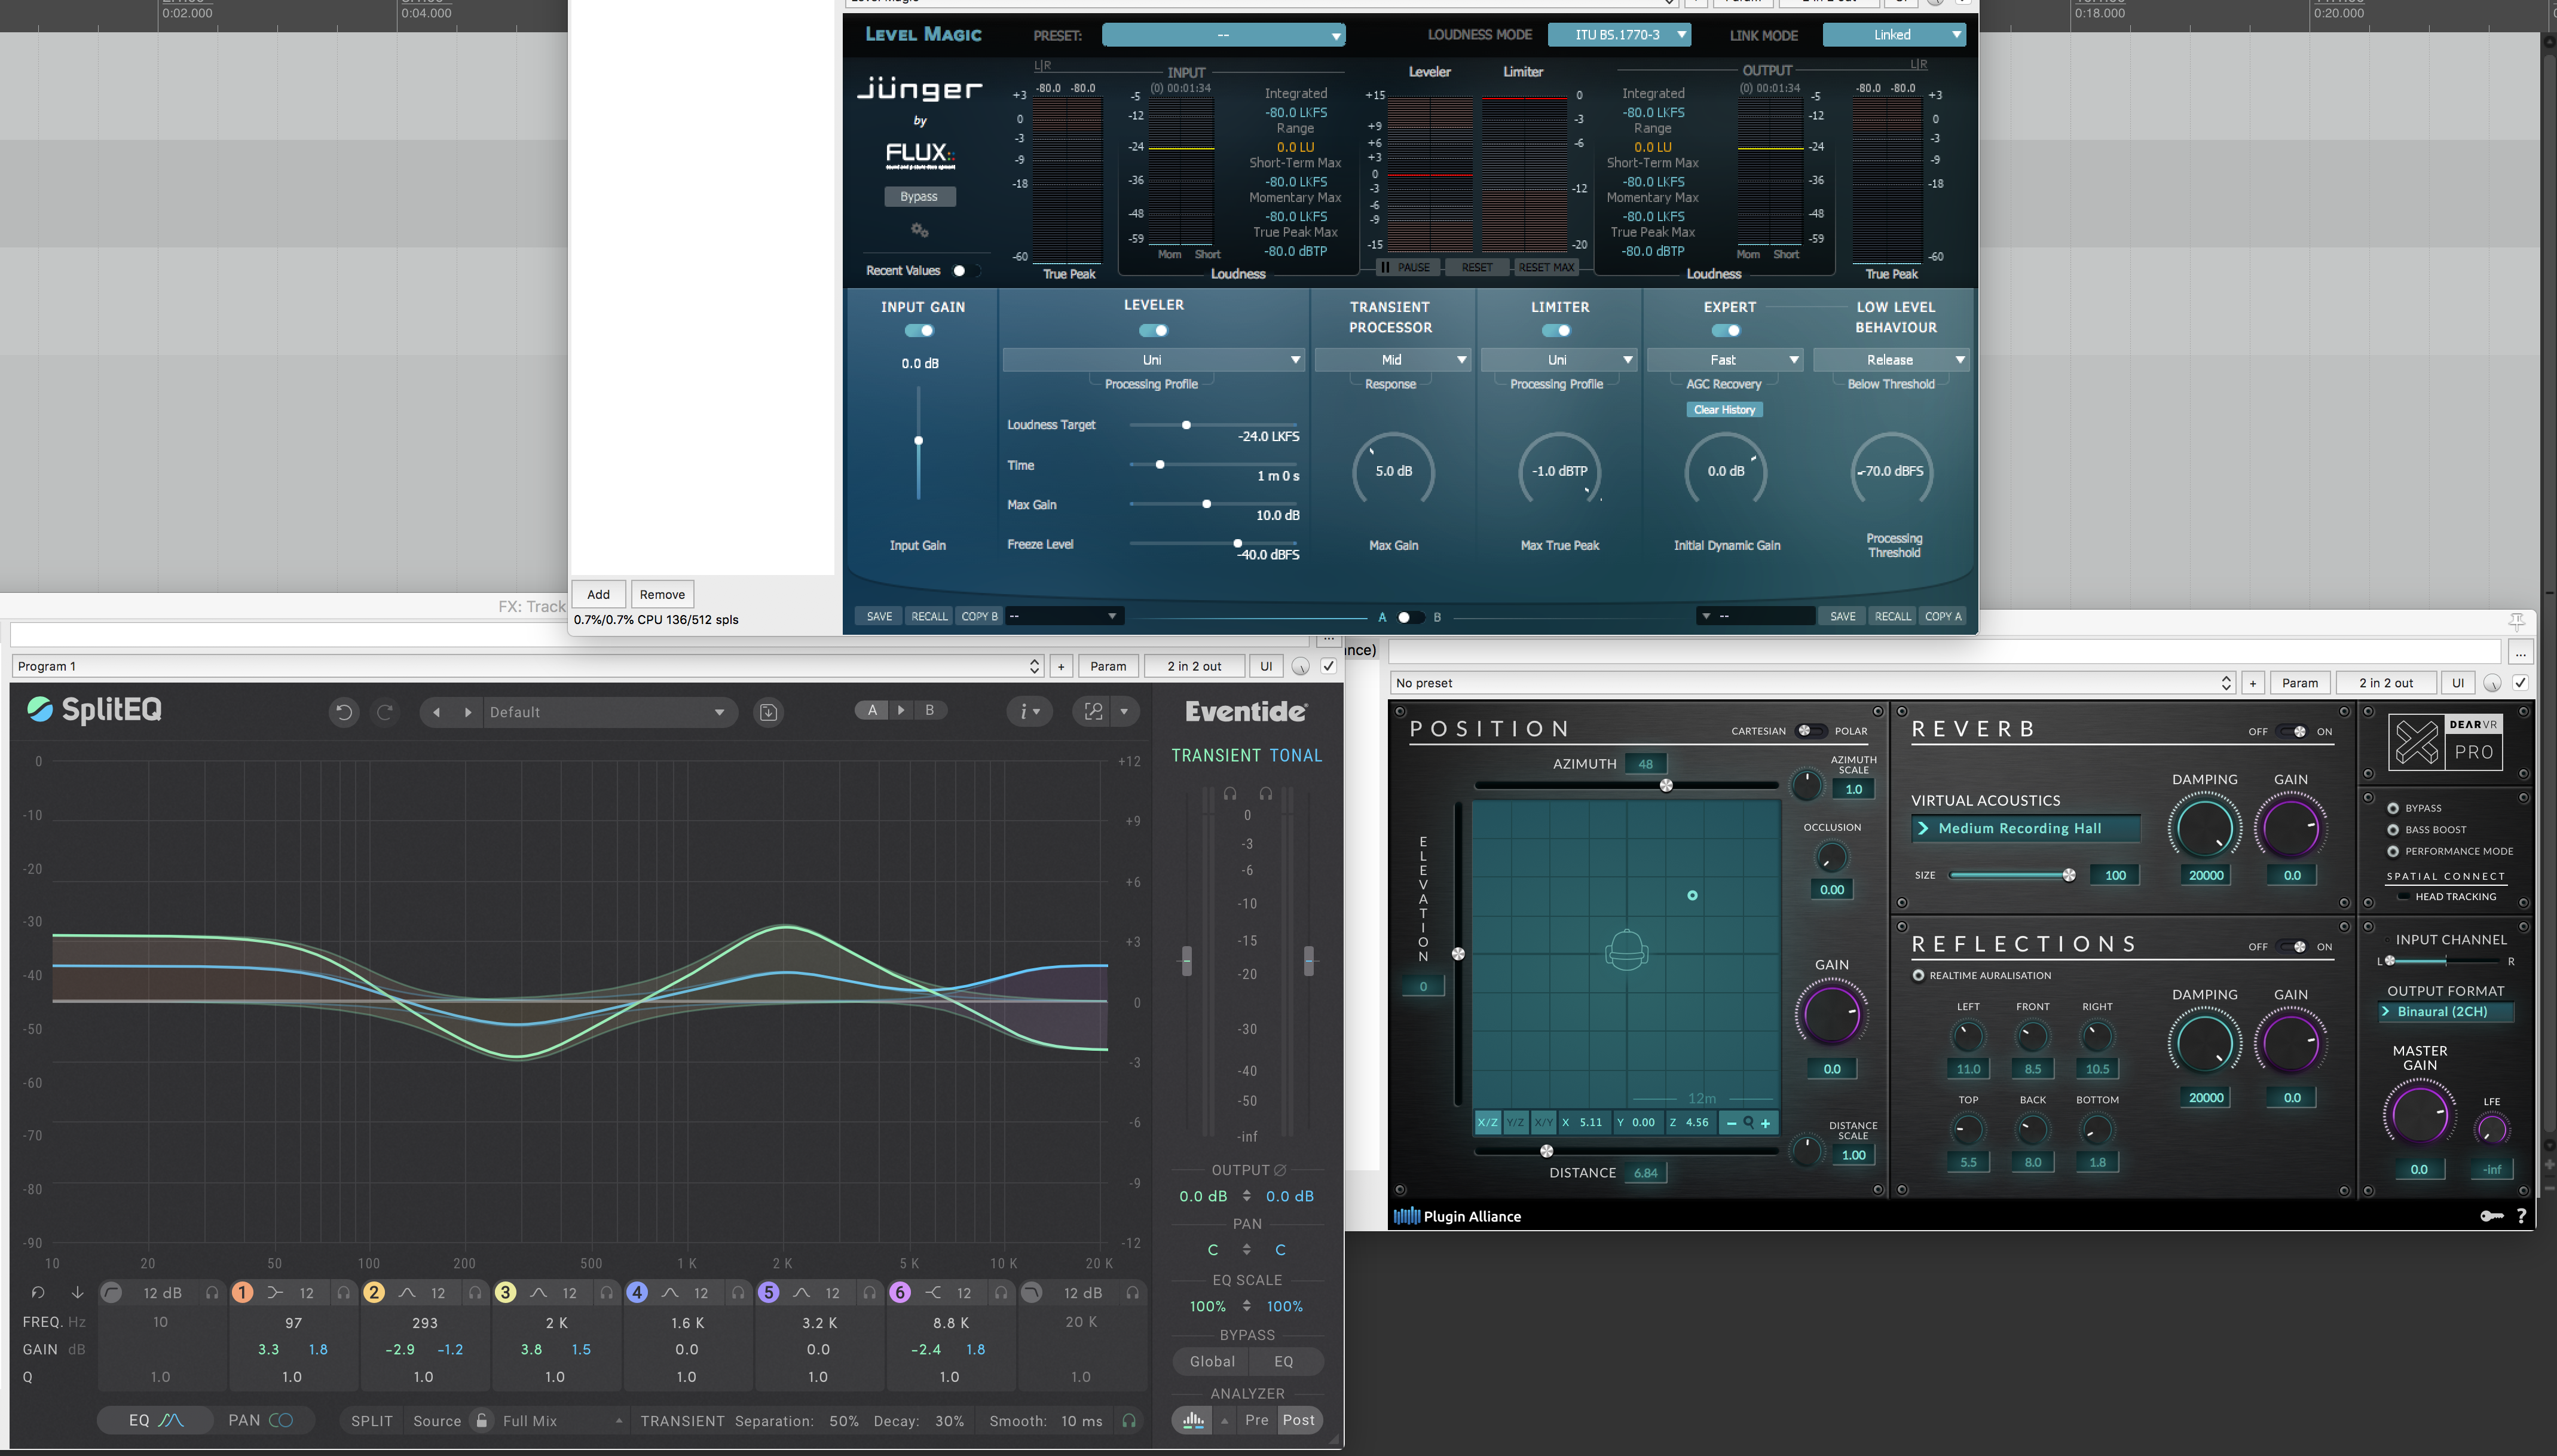
- Level Magic (Flux/Jünger Audio) — This plugin is an auto-leveler that does a similar job as Vocal Rider but with WAY WAY WAY more features and use cases. From their website: “Level Magic is a comprehensive loudness management processor utilizing an algorithm highly adaptive to the structure of the incoming audio to meet the requirements of the broadcast and media industry, producing a result without artifacts such as pumping, breathing or distortion.”
- Split EQ (Eventide) — SplitEQ analyzes the incoming audio and separates it into two separate streams: Transient (noise, pops, mic plosives, vocal sibilance, attacks) and Tonal (sustained notes, harmonics, tone, ambiance) – allowing you to EQ these two independently! Very handy in some use cases. From their website: “SplitEQ™ is a groundbreaking EQ that offers a fundamentally new approach to corrective and creative audio equalization. It excels at Repairing, Rebalancing, Enhancing, and Widening any musical source or audio signal. SplitEQ is both a surgical tool for fixing particularly nasty problems and a creative tool as it opens up exciting new musical possibilities. More than just an EQ — It’s a new and better tool.”
- dear VR pro (Plugin Alliance) — This is an amazing 3D audio plugin. From their website: “dearVR PRO provides 46 vivid virtual acoustic environments, featuring true to life 3D imaging and gorgeous sounding environments to place your sounds and then move them around in real time. Among the many selections to choose from are concert halls, car interiors, different types of rooms, a church, cellar, staircase, bathroom, booth, warehouse, arena, outdoor street and live stage. Each environment is instantly and independently recallable per plugin instance, letting you place each object’s sound in a different space.”
These are all excellent plugins which I like a lot.
Do you have any plugins that you bought but don’t use very often? Share below 🙂
Want to receive the Daily Goody in your email, daily or weekly? Subscribe free here.
And please keep in mind, the Daily Goody is only a tiny little tip, fact or lesson everyday. Please don’t expect any of these posts to be long, earth-shattering masterpieces that instantly answer every single question you can think of and completely transform you into a world class podcast engineer. “Little by little, a little becomes a lot.”
-

Microphone Polar Patterns – A Complete Guide
Check out this Complete Guide To Microphone Polar Patterns from MyNewMicrophone.com 🙂
Each and every microphone has a polar pattern which determines the microphones “directionality” – from which directions the microphone picks up sound and from which directions the microphone rejects sound. Some mic’s give you several options of polar patterns.
Popular polar patterns include Cardioid, Omnidirectional, Bidirectional (Figure-8), Supercardioid, Hypercardioid, and Lobar/Shotgun.
Check out this guide for more detailed descriptions of each pattern as well as a TON more information. 😉
Want to receive the Daily Goody in your email, daily or weekly? Subscribe free here.
And please keep in mind, the Daily Goody is only a tiny little tip, fact or lesson everyday. Please don’t expect any of these posts to be long, earth-shattering masterpieces that instantly answer every single question you can think of and completely transform you into a world class podcast engineer. “Little by little, a little becomes a lot.”
-
I’ll Be Attending and Presenting at Podfest Expo (May 26-29, 2022 in Orlando, FL)
Will you be attending? Let’s meet face to face at Podfest Expo! It’s from May 26-29, 2022 in Orlando, Florida.
My presentation will be part of the “Experiential” track organized by the distinguished duo, Steve Stewart and Mark Deal of Podcast Editor Academy. I’ll be demonstrating Compression and Limiting, and it will be 100% me demonstrating these practical processes. Of course there will be Q&A as well.
Hope to see you there!
Want to receive the Daily Goody in your email, daily or weekly? Subscribe free here.
And please keep in mind, the Daily Goody is only a tiny little tip, fact or lesson everyday. Please don’t expect any of these posts to be long, earth-shattering masterpieces that instantly answer every single question you can think of and completely transform you into a world class podcast engineer. “Little by little, a little becomes a lot.”
-
Editing the Timing Between a Question and the Answer
Normally the timing between a hosts’ question and the guests’ answer is determined by the natural flow of the conversation. But when using some remote recording platforms the participants audio recordings can “drift” or “slide” a bit and make that timing VERY unnatural.
For instance, in a recent episode of a show I listen to, the guest actually started answering before the question was finished. It sounded like this was due to the “drifting” of the recorded files.
TIP: When you’re editing podcast audio be sure to verify that the timing between questions and answers is natural, and if it’s not, then correct it 😉
Have you ever had issues with this phenomena?
Want to receive the Daily Goody in your email, daily or weekly? Subscribe free here.
And please keep in mind, the Daily Goody is only a tiny little tip, fact or lesson everyday. Please don’t expect any of these posts to be long, earth-shattering masterpieces that instantly answer every single question you can think of and completely transform you into a world class podcast engineer. “Little by little, a little becomes a lot.”
-

Want Me to Dial-in Custom Settings for Your Voice? (EQ, Compression, Etc.)
Lots of folks love this service because they learn a lot from me (see below) and can use their custom settings for the rest of their life and sound great!
Yes, it will cost you some money but for some folks it’s worth it. It totally depends on your situation.
NOTE: You need to own the Scheps Omni Channel plugin (usually $29-$39). ***This service does NOT provide you the plugin itself.***
Here’s how it works:
- You send me a 5-10 minute raw recording of your voice which has not yet been processed in any way.
- I will record a screen capture video of myself exploring your audio and enhancing it using the plugin.
- I will talk through what I’m doing so you can learn what I’m doing and why.
- If necessary, I will make suggestions regarding your recording process, mic technique, room, etc.
- I will go over all the exact plugin settings that I think sound best.
- I will send you my dialed-in settings as an .xps file for you to easily load into your Scheps Omni Channel plugin, and voilà – you sound your best!
- Also, for your future reference, I will send you the video recording of me explaining things and walking you through my entire thought process and plugin settings.
If you have any questions, reach out! ~Chris
Want to receive the Daily Goody in your email, daily or weekly? Subscribe free here.
And please keep in mind, the Daily Goody is only a tiny little tip, fact or lesson everyday. Please don’t expect any of these posts to be long, earth-shattering masterpieces that instantly answer every single question you can think of and completely transform you into a world class podcast engineer. “Little by little, a little becomes a lot.”
-
When a Remote Guests’ Internet Fails and They Disconnect
When you’re recording a podcast episode and your guest abruptly disconnects due to an internet issue, your immediate goal, of course, is to get them reconnected so you can continue with the recording session.
Most times the guest will reconnect by themselves within about 10-30 seconds.
If they don’t, then you should try calling them (IF you have their phone number) or messaging them via email, messaging app or social media, etc.
*This why it’s a great idea to have your guests phone number handy BEFORE recording starts. Be sure to ask for their phone number during your booking process 😉
**Also note — it’s usually best to NOT stop recording when a guest disconnects — keep rolling, because when they reconnect you can immediately carry on with the episode. Plus your recorded files will be one long piece instead of multiple pieces.
How do you handle this type of situation?
Want to receive the Daily Goody in your email, daily or weekly? Subscribe free here.
And please keep in mind, the Daily Goody is only a tiny little tip, fact or lesson everyday. Please don’t expect any of these posts to be long, earth-shattering masterpieces that instantly answer every single question you can think of and completely transform you into a world class podcast engineer. “Little by little, a little becomes a lot.”
-
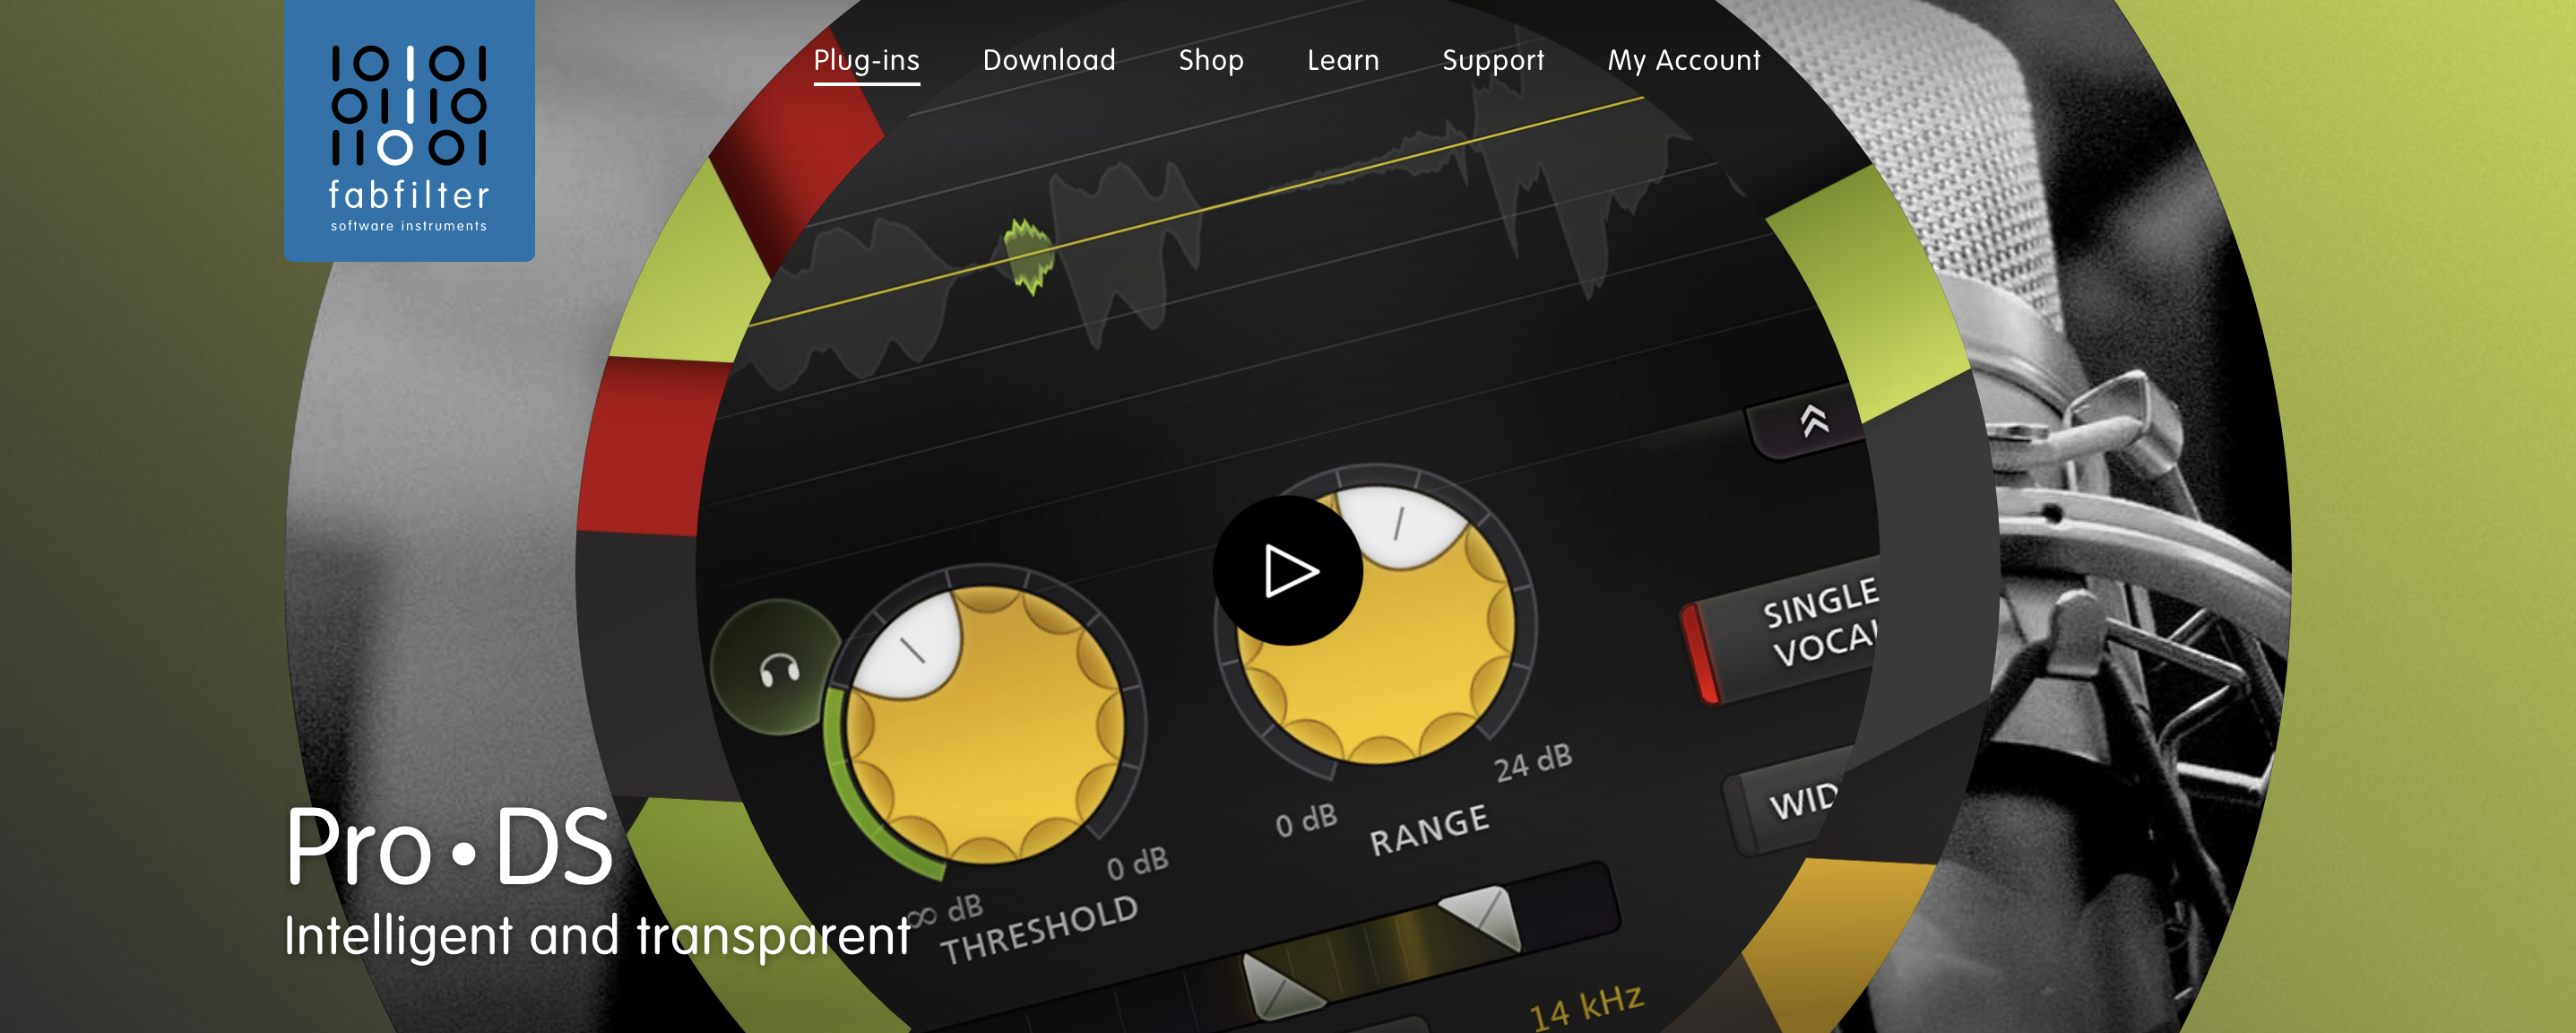
Fabfilter Pro-DS, an Exceptional De-esser
The Fabfilter Pro-DS plugin is excellent for removing sibilance from participants recordings. I’ve been using it for years and it’s great. It’s not the most inexpensive de-esser plugin on the market but it’s exceptional. Try it for 30 days for free if you desire.
From Fabfilter’s website:
- Intelligent and transparent — Even when using the best mics, pre-amps and converters, sibilance in vocal recordings can easily get over-accentuated during post-processing like compression or saturation. But don’t worry, FabFilter Pro-DS comes to the rescue!
- Accurate detection: With its highly intelligent ‘Single Vocal’ detection algorithm, FabFilter Pro-DS accurately identifies sibilance in vocal recordings and attenuates it transparently. When using the ‘Allround’ mode, Pro-DS becomes a great tool for high-frequency limiting of any material, like drums or even full mixes.
- Wide band or linear-phase split band processing, an optional look-ahead of up to 15 ms, adjustable stereo linking with optional mid-only or side-only processing, up to four times linear-phase oversampling.
Have you tried the Pro-DS yet?
Also remember — Be Delicate When De-essing 😉
Want to receive the Daily Goody in your email, daily or weekly? Subscribe free here.
And please keep in mind, the Daily Goody is only a tiny little tip, fact or lesson everyday. Please don’t expect any of these posts to be long, earth-shattering masterpieces that instantly answer every single question you can think of and completely transform you into a world class podcast engineer. “Little by little, a little becomes a lot.”
-
What Equipment Do You Recommend for New Podcasters?
What microphone do you recommend?
What interface do you recommend?
See what I recommend to new clients here in this post titled An Inexpensive Podcasting Equipment Setup to Sound Great.
Want to receive the Daily Goody in your email, daily or weekly? Subscribe free here.
And please keep in mind, the Daily Goody is only a tiny little tip, fact or lesson everyday. Please don’t expect any of these posts to be long, earth-shattering masterpieces that instantly answer every single question you can think of and completely transform you into a world class podcast engineer. “Little by little, a little becomes a lot.”
-
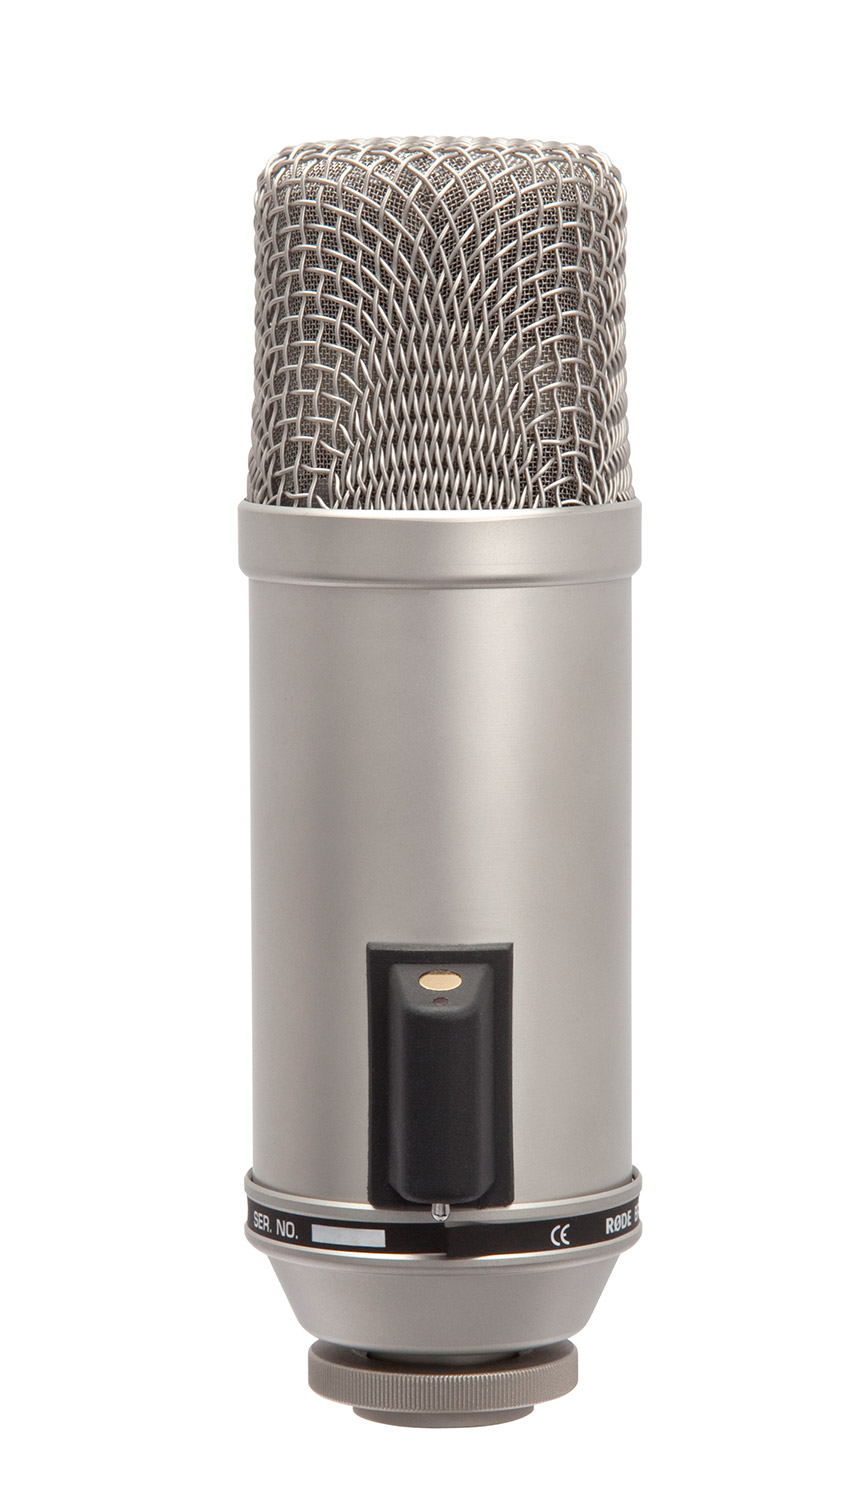
RØDE Broadcaster (Microphone)
I own a RØDE Broadcaster (end-address condenser microphone, ~$419) and I like it a lot, though I don’t use it often because it’s not the greatest “fit” for my particular voice. (FYI: Adam Carolla uses one)
Info from RØDE’s website:
- Large diaphragm 1” gold-sputtered capsule
- On-Air indicator LED
- Ultra-low noise
- Voice tailored low-cut feature
- Internal pop-filter
- 10 year extended warranty when you register your microphone
The RØDE Broadcaster is a large diaphragm, end-address condenser microphone designed to provide the ultimate performance for broadcast vocal applications.
Its rich, full quality tailored response has an emphasised proximity effect that has made it a standard in radio stations the world over. It is equally suitable as a voice-over microphone for film and television
The Broadcaster features an internal pop filter, designed to minimise plosives sounds that can overload the microphone capsule and distort the audio output. In addition to the Broadcaster’s native 20Hz-20kHz response, a selectable high-pass filter at 75Hz is available which will prevent low-end noise such as air conditioners and traffic from being recorded.
The Broadcaster features an innovative ‘On-Air’ indicator on the body that can be wired for external activation by the ‘Channel On/Mute’ function on many consoles. If not connected to a console or switch, the indicator will remain lit whenever the microphone has power.
The RØDE Broadcaster microphone is designed and made in Australia, and covered by RØDE Microphones’ industry leading 10 year warranty.
Have you ever tried the RØDE Broadcaster microphone?
Want to receive the Daily Goody in your email, daily or weekly? Subscribe free here.
And please keep in mind, the Daily Goody is only a tiny little tip, fact or lesson everyday. Please don’t expect any of these posts to be long, earth-shattering masterpieces that instantly answer every single question you can think of and completely transform you into a world class podcast engineer. “Little by little, a little becomes a lot.”
-
Reasons I Sometimes Use Volume Boost in My Podcast Player App
When you’re listening to podcasts in your podcast app — fyi, I use Podcast Addict — the main reason to turn on “Volume Boost” or the equivalent feature in whatever app you use is because you have the volume cranked all the way up and it’s still not loud enough for you.
Personally, I turn on “Volume Boost” in Podcast Addict in three different scenarios:
- When the podcast episode I’m listening to was published at a low level and even with my volume cranked all the way it’s still not loud enough (as referenced above) (note: I rarely need to do this)
- When one or more participants has been mixed at a significantly lower level than other participants
- When one or more participants’ volume is extremely dynamic (constantly alternating between very loud and very soft)
For scenarios 2 and 3, I find that turning on “Volume Boost” actually limits and/or compresses the episode audio, which seems to even out the volume levels of the various participants because the loud participants/sections are reduced in volume (via limiting/compression) and the lower volume participants/sections are raised up in volume relatively speaking.
I don’t know for sure exactly what the “Volume Boost” in Podcast Addict is doing, but it sure sounds like limiting/compressing to me. And it comes in handy quite a bit.
When do you use “Volume Boost” or the equivalent feature in whatever app you use?
Comment below.
Want to receive the Daily Goody in your email, daily or weekly? Subscribe free here.
And please keep in mind, the Daily Goody is only a tiny little tip, fact or lesson everyday. Please don’t expect any of these posts to be long, earth-shattering masterpieces that instantly answer every single question you can think of and completely transform you into a world class podcast engineer. “Little by little, a little becomes a lot.”
-
Using Pixels to Track Podcast Ad Stats?
Tracking your podcast ads’s success – how can you do it in an accurate, user-friendly way?
Read this post to find out how to maximize your campaign’s tracking and profitability using pixels.
Have you ever tried tracking adds this way?
Want to receive the Daily Goody in your email, daily or weekly? Subscribe free here.
And please keep in mind, the Daily Goody is only a tiny little tip, fact or lesson everyday. Please don’t expect any of these posts to be long, earth-shattering masterpieces that instantly answer every single question you can think of and completely transform you into a world class podcast engineer. “Little by little, a little becomes a lot.”
-
How To Handle Clients That Won’t Heed Your Advice To Improve Their Audio Quality
Some clients that you edit/produce podcasts for may have terrible recording habits that require you to do WAY more audio fixing in post-production than normal.
These bad habits may include:
- Bad Microphone Technique (continually and drastically varying the distance between their mouth and the microphone)
- Lots of Background Noise (like air conditioners, fans, room reverb/echo, people talking in the background, etc.)
- Table Thumps (these can be especially terrible when using a desk-based microphone like the Blue Yeti, etc.)
- No Plosive Protection (making their plosives horrendously jarring)
- Heavy Breathing (related to microphone technique above, and very weird to listen to)
How can you avoid having to fix these audio blemishes in post-production? Train your client to NOT make these mistakes when recording! If your client actually listens to your sage suggestions then their audio will be much better quality, which is better for every single listener.
But what if your client will not heed your advice to avoid all the above audio mistakes? Well, put simply, you’re hosed. You are going to have to spend lots of extra time in post cleaning up their easily-avoidable mistakes — and even then, the resulting audio quality will STILL not be as good as if they avoided all the mistakes.
At some point, you may want to fire these types of clients if their audio shenanigans becomes too time consuming to fix.
Have you ever dealt with a client like this?
Want to receive the Daily Goody in your email, daily or weekly? Subscribe free here.
And please keep in mind, the Daily Goody is only a tiny little tip, fact or lesson everyday. Please don’t expect any of these posts to be long, earth-shattering masterpieces that instantly answer every single question you can think of and completely transform you into a world class podcast engineer. “Little by little, a little becomes a lot.”
-
The Debate Over Editing Out Breaths vs. Leaving Breaths In
Should you edit out everyone’s breaths in podcast episodes?!?
Personally I never edit out the breaths of podcast participants. Breathing is natural and listeners are used to hearing people’s breaths all the time. And here’s a challenge for you: Go listen to some pop songs — and LISTEN CAREFULLY for the singers breaths. They are there and they are LOUD! And no one ever notices them. Why? Because it’s natural.
Other podcasters and editors like to remove all the breaths from all participants in podcast episodes. The result is a very clean sounding episode, but it may also sound unnatural/weird.
Can you think of any additional benefits of editing out breaths?
And what are your thoughts on this debate?
Want to receive the Daily Goody in your email, daily or weekly? Subscribe free here.
And please keep in mind, the Daily Goody is only a tiny little tip, fact or lesson everyday. Please don’t expect any of these posts to be long, earth-shattering masterpieces that instantly answer every single question you can think of and completely transform you into a world class podcast engineer. “Little by little, a little becomes a lot.”
-
[VIDEO] MaxxVolume Plugin for Podcast Production (Handy as Heck!)
Have you tried this plugin? Comment below.
Want to receive the Daily Goody in your email, daily or weekly? Subscribe free here.
And please keep in mind, the Daily Goody is only a tiny little tip, fact or lesson everyday. Please don’t expect any of these posts to be long, earth-shattering masterpieces that instantly answer every single question you can think of and completely transform you into a world class podcast engineer. “Little by little, a little becomes a lot.”